


今回からAngularの中身を書いていくよ!
どんな内容から始めていくんだろう??
前提
Angularの設定までの流れはコチラを参考にしてください!

ディレクトリ構成を考える
ディレクトリ構成はコードを見やすくするための大前提です。
コチラのサイトを参考にしてディレクトリ構成を行いましので、内容を確認してみてください!

実際に作成するディレクトリ構成です。
ng-pain-log/
└── pain-log/
    └── src/
        └── app/
            ├── core/
            ├── domain/
            ├── features/
            ├── infrastructures/
            ├── shared/
            ├── app.component.html
            ├── app.component.ts
            ├── app.component.less
            └── app.routes.ts
さらにcoreフォルダの中にheaderのcomponent、
        └── app/
            ├── core/
            │   └── header/
            │       ├── header.component.html
            │       ├── header.component.ts
            │       └── header.component.less
featuresフォルダの中にpagesのcomponentを作成します。
        └── app/
            ├── features/
            │   └── pages/
            │       ├── pages.component.html
            │       ├── pages.component.ts
            │       └── pages.component.less
そして、pagesの中にさらに、dashboardのcomponentを作成します。
        └── app/
            ├── features/
            │   └── pages/
            │       ├── pages.component.html
            │       ├── pages.component.ts
            │       ├── pages.component.less
            │       └── dashboard/
            │           ├── dashboard.component.html
            │           ├── dashboard.component.ts
            │           └── dashboard.component.less
componentを作成するときは作成したいフォルダまでコマンドで移動し、
ng generate component コンポーネント名
のコマンドを実行してください。詳しくは、下記のサイトで要チェック!

コマンドでのフォルダ移動はコチラを参考にしてください!

ディレクトリ構成の話はここまでです!
ルーティングを考える
ルーティングの概要
ルーティングとは画面を表示させるためにどのような経路を通るかを考えることです。
今回は以下の画像のように、app.routes.tsから始まり、pages.routes.tsを通り、dashboard.component.tsにたどり着くように設定したいと思います。
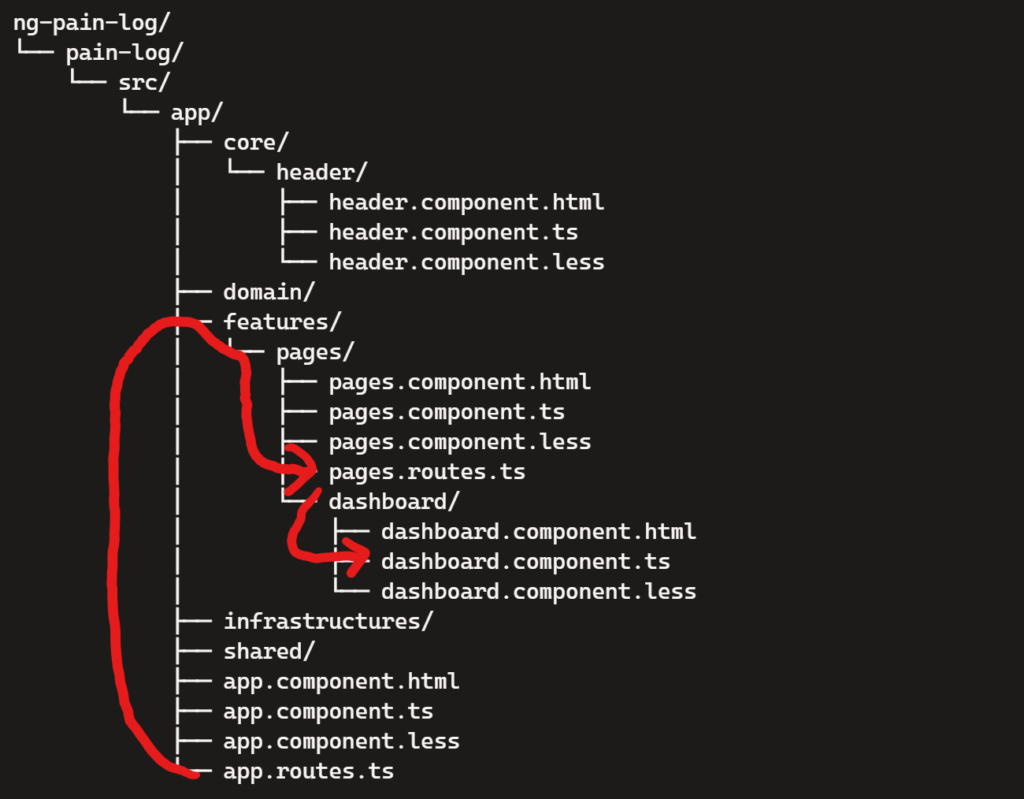
イメージはタイトルをpages.componentで表示させて、テーブルをdashboad.componentで表示させるようにルーティングします。

こうすることで、仮に動作が重かったとしても、タイトルが表示されてからテーブルが表示されるという実装を行うことができます。
ルーティングのコード
実際のコードを見ていきましょう。まずは大元のapp.routes.tsです。
import { Routes } from '@angular/router';

export const routes: Routes = [
  {
    path: 'pages',
    loadChildren: () =>
      import('./features/pages/pages.routes').then((m) => m.default),
  },
  { path: '', redirectTo: 'pages/dashboard', pathMatch: 'full' },
  { path: '**', redirectTo: 'pages/dashboard' },
];
次にpages.routes.tsです。
import { Routes } from "@angular/router";
import { PagesComponent } from "./pages.component";

export const routes: Routes = [
  {
    path: '',
    component: PagesComponent,
    children: [
      {
        path: 'dashboard',
        loadComponent: () =>
          import('./dashboard/dashboard.component').then(
            (m) => m.DashboardComponent
          ),
      },
      { path: '', redirectTo: 'dashboard', pathMatch: 'full' },
    ]
  }
]

export default routes;
最後にdashboard.component.tsです。
import { CommonModule } from '@angular/common';
import { Component } from '@angular/core';

@Component({
  selector: 'app-dashboard',
  standalone: true,
  imports: [CommonModule],
  templateUrl: './dashboard.component.html',
  styleUrl: './dashboard.component.less'
})
export class DashboardComponent {

}
上記を修正したあとに、pain-logフォルダ下へコマンドで移動し、
ng serve上記ができない場合は、
npx ng serve --host 0.0.0.0 --poll 1を実行します。
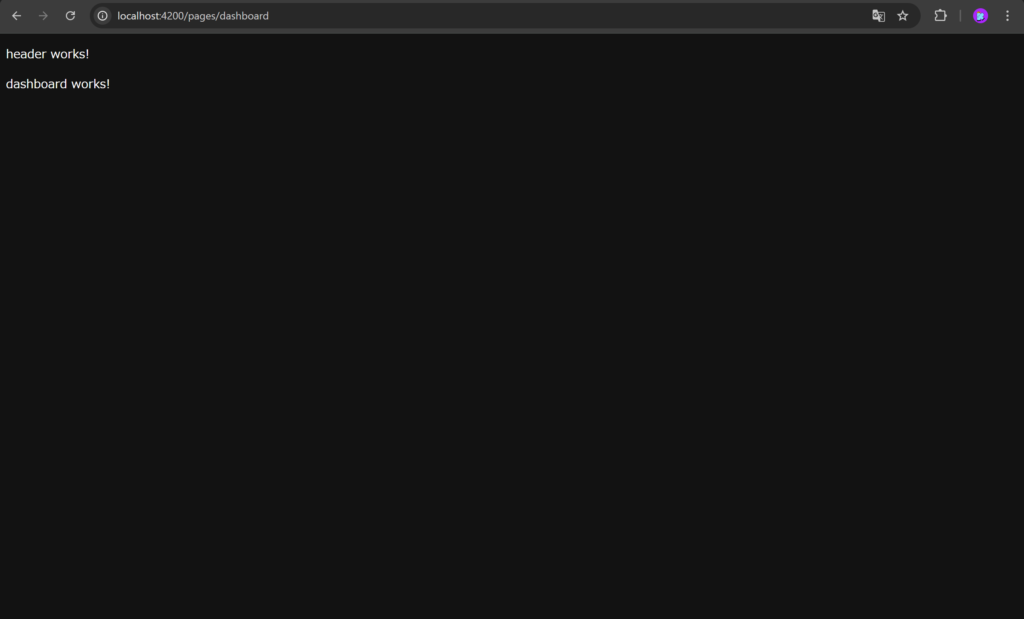
と表示されればOKです!
次のステップ
次は簡単にキレイなデザインを取り入れられるAngularフォーマットの紹介です。